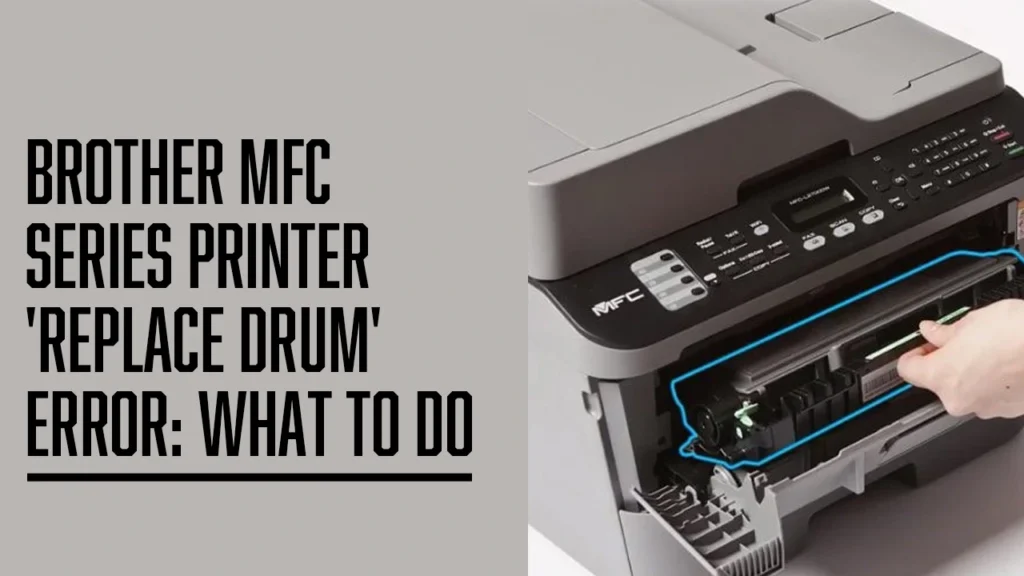

Epson WorkForce Printer Paper Feed Problems: Solutions
Epson WorkForce Printer Paper Feed Problems: Solutions Paper feed issues are a common headache for Epson WorkForce printer users. Whether the printer refuses to pick up paper or feeds multiple sheets at once, these problems can interrupt your workflow and delay important tasks. Fortunately, most paper feed issues can be resolved with a few straightforward steps. Here’s how to troubleshoot and fix them: Check the Paper Type and LoadMake sure you’re using the correct paper size and type recommended for your Epson WorkForce model. Fan the stack of paper before loading it to prevent sheets from sticking together, and ensure it’s properly aligned in the tray. Clean the Paper RollersDust and debris on the paper feed rollers can cause feeding problems. Power off the printer, open the access panels, and gently clean the rollers using a lint-free cloth lightly dampened with water. Allow them to dry completely before turning the printer back on. Avoid Overloading the TrayOverfilling the paper tray can lead to misfeeds or multiple pages being pulled in at once. Keep the paper stack within the tray’s maximum fill line and always adjust the paper guides to fit snugly against the paper. Update Printer FirmwareOccasionally, paper feed problems can be caused by outdated firmware. Check the Epson support site for updates specific to your WorkForce model and install them as needed. Inspect for ObstructionsRemove any jammed paper or foreign objects from the input and output areas. Even small scraps can cause feeding errors. If your Epson WorkForce printer continues to struggle with paper feed issues despite these efforts, it may be time for a more thorough inspection. At Neon Electrix, our printer repair experts are ready to diagnose and fix even the most stubborn feed problems to keep your printing operations running smoothly.
Epson WorkForce Printer Paper Feed Problems: Solutions Read More »