
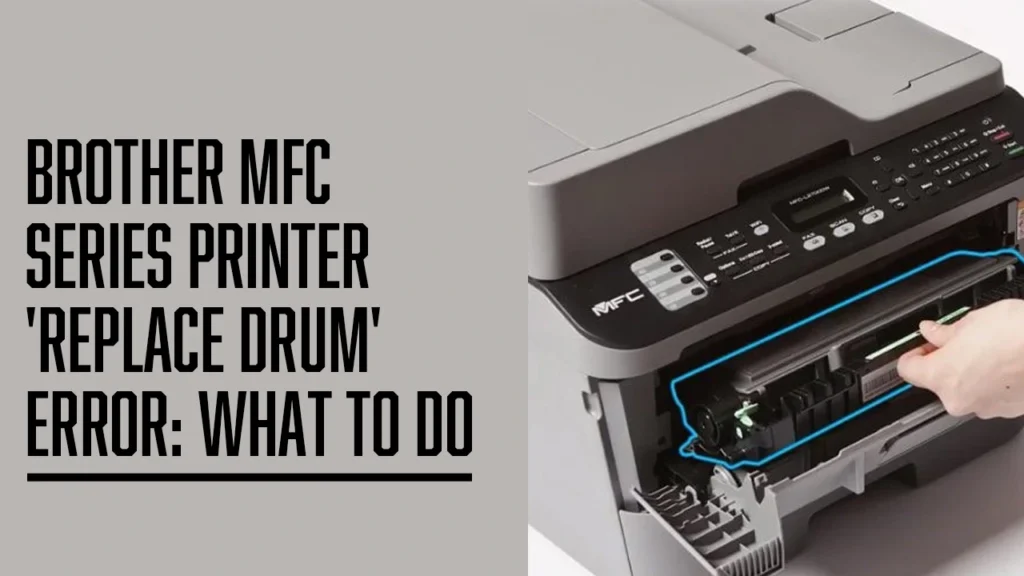
Brother MFC Series Printer ‘Replace Drum’ Error: What to Do
If your Brother MFC Series printer is displaying a “Replace Drum” error, it means the drum unit has reached the end of its expected life cycle. The drum is a vital component that works with the toner to transfer images and text onto paper. While replacing the drum unit is typically required, sometimes the error can persist even after installation.
Here’s what to do:
Replace the Drum Unit (If Needed)
Open the front cover, remove the toner and drum assembly, separate the toner from the old drum, and attach it to a new drum unit. Then, reinstall the assembly into the printer.Reset the Drum Counter
After replacing the drum, you must manually reset the drum counter to clear the error message:Open the front cover.
Press and hold the “OK” or “Clear” button (depending on the model) until a reset option appears.
Select “Drum” and confirm the reset.
Clean the Corona Wire
If you’re not replacing the drum immediately, try cleaning the corona wire inside the drum unit. Slide the green tab from left to right several times to ensure a clean transfer path.
If you’ve followed these steps and still see the error, the issue may be due to a faulty sensor or installation error. At Neon Electrix, our technicians are experienced in resolving these kinds of issues quickly and effectively. We can help you get your Brother MFC printer working like new again.
Alright, alright, let’s see what 8959betlogin has to offer. Fingers crossed for some good odds and a smooth experience you know. Hoping to get lucky! 8959betlogin
Heard gtwinbra is the new hotness in Brazil. Time to see if it’s legit. Let’s go Brazil! Hope for big wins! gtwinbra
Been messing around on dovi88bet and gotta say, it’s pretty solid. Good selection and site works smooth. Give it a shot: dovi88bet
BBbetapp… hmm, gotta be honest, I was a bit skeptical at first, but it’s surprisingly decent. The interface is clean, and they’ve got some good odds going on. Would recommend giving it a shot. More info here: bbbetapp
U888abcvipapp, now that’s a mouthful. But aside from the name, it’s alright. VIP program seems alright, if you’re into that sort of thing. Games selection is standard. See what you think: u888abcvipapp
Bet786? Alright, let’s be real; it’s another betting site. BUT! They do have competitive odds on certain sports. Shop around and see if it works for you! More info: bet786