Neon Electrix

sam.ielts

Troubleshooting HP Envy Printer Connectivity Problems

Troubleshooting HP Envy Printer Connectivity Problems HP Envy printers are known for their sleek design and wireless convenience, but like any technology, they can sometimes experience connectivity issues. Whether your printer is having trouble connecting to Wi-Fi, not appearing on your device list, or randomly going offline, these problems can be disruptive—especially when you need to print something urgently. At Neon Electrix, we understand how frustrating printer connectivity problems can be. Here’s a comprehensive guide to help you troubleshoot and fix common HP Envy connectivity issues. 1. Check the Basics First Before diving into complex fixes, verify a few essentials: Ensure the printer is powered on and has no error messages on the screen. Make sure your Wi-Fi router is working and connected to the internet. Confirm that your printer and device (computer or phone) are on the same Wi-Fi network. 2. Restart Everything A simple restart can often resolve temporary glitches: Turn off your HP Envy printer. Restart your router. Reboot your computer or mobile device. Turn your printer back on and try reconnecting. 3. Reconnect to Wi-Fi Manually If the printer isn’t connecting automatically: On the printer’s touchscreen, go to Settings > Network Setup > Wireless Settings. Choose Wireless Setup Wizard and follow the prompts to reconnect to your Wi-Fi network. Re-enter your Wi-Fi password carefully. 4. Run HP Print and Scan Doctor (for Windows) HP offers a free diagnostic tool called HP Print and Scan Doctor: Download it from HP’s support site. Run the tool to identify and fix connectivity and print queue issues. Follow the on-screen instructions to resolve detected problems. 5. Disable VPNs or Firewalls Temporarily Sometimes, VPNs or strict firewalls can block the connection between your device and printer: Temporarily disable your VPN or firewall software. Try reconnecting to the printer. If successful, add an exception or allow HP services through your firewall settings. 6. Update Printer Firmware Outdated firmware can cause communication issues: Visit the HP Support website and enter your printer model. Download and install the latest firmware update. Updates can often be installed directly through the printer’s touchscreen under Settings > Printer Maintenance. 7. Set a Static IP Address Dynamic IP addresses can sometimes cause the printer to disconnect: Access your printer’s IP address via the network settings. Enter it in a web browser to open the Embedded Web Server (EWS). In the EWS, set a Static IP address for the printer to maintain a stable connection. 8. Use USB or Wi-Fi Direct as a Backup If you urgently need to print and Wi-Fi isn’t cooperating: Connect your computer directly via USB. Or use Wi-Fi Direct: enable it from your printer’s control panel and connect to the printer like you would a hotspot. When to Call in the Pros If you’ve tried everything and your HP Envy printer still refuses to connect, it may be a deeper hardware or network configuration issue. That’s where Neon Electrix comes in. Our experienced technicians can quickly identify and resolve even the most stubborn connectivity problems—whether it’s a faulty wireless card, firmware corruption, or router compatibility issue. Don’t let printer issues slow you down. Contact Neon Electrix today for expert printer troubleshooting and get back to printing without the stress.

Troubleshooting HP Envy Printer Connectivity Problems Read More »

Canon MAXIFY Series Printer  ‘Low Ink’ Warning: How to Fix

Canon MAXIFY Series Printer ‘Low Ink’ Warning: How to Fix If you own a Canon MAXIFY series printer, you may occasionally be greeted with a “Low Ink” warning—even when you suspect there’s still ink left in the cartridge. While this alert is helpful for timely replacements, it can also be misleading and interrupt your printing, especially if you’re in the middle of important work. At Neon Electrix, we often help customers resolve this issue quickly so they can get back to business without unnecessary delays. Here’s what to do when you encounter a ‘Low Ink’ warning on your Canon MAXIFY printer: 1. Verify the Ink Levels Manually Sometimes, the printer’s sensor may misread the ink levels. You can double-check the levels by: Accessing the printer’s control panel. Navigating to Ink Information or Ink Levels. Comparing the displayed levels to your printing output — if prints are still coming out clear, you may have more ink than the warning suggests. 2. Remove and Reinsert the Ink Cartridge A simple reset can often fix false warnings: Open the ink compartment. Remove the cartridge showing the warning. Wait a few seconds, then reinsert it firmly. Close the compartment and allow the printer to recalibrate. 3. Replace the Ink Cartridge (If Needed) If prints are faded or streaky, it may genuinely be time to replace the cartridge. Make sure to: Use genuine Canon ink cartridges to avoid compatibility or detection issues. Follow the printer’s prompts to install the new cartridge correctly. 4. Override the Warning (If Necessary) Canon printers are sometimes overcautious. If you’re confident there’s ink remaining and need to keep printing: Hold the “Stop” or “Resume” button for 5–10 seconds. This may override the warning temporarily and allow printing to continue. Be cautious—printing with low ink may affect print quality or damage the printhead over time. 5. Update Your Printer Firmware An outdated firmware can cause persistent or inaccurate low ink warnings. Visit Canon’s support page and install the latest firmware for your MAXIFY model. 6. Run a Nozzle Check If you’re unsure whether ink is truly running low: From the printer menu, run a Nozzle Check or Print Head Cleaning. This test will reveal any ink flow issues and confirm if replacement is necessary. When to Call the Experts If the ‘Low Ink’ warning won’t clear or your printer still refuses to function properly even after replacing cartridges, it may indicate a sensor or software problem. At Neon Electrix, our technicians are experienced with Canon MAXIFY series printers and can quickly diagnose the issue—whether it’s a faulty sensor, misaligned cartridge, or a deeper hardware fault. Don’t let a warning slow you down. Contact Neon Electrix for fast, reliable printer support that gets you printing again with confidence.

Canon MAXIFY Series Printer  ‘Low Ink’ Warning: How to Fix Read More »

Epson WorkForce Printer Paper Feed Problems: Solutions

Epson WorkForce Printer Paper Feed Problems: Solutions Paper feed issues are a common headache for Epson WorkForce printer users. Whether the printer refuses to pick up paper or feeds multiple sheets at once, these problems can interrupt your workflow and delay important tasks. Fortunately, most paper feed issues can be resolved with a few straightforward steps. Here’s how to troubleshoot and fix them: Check the Paper Type and LoadMake sure you’re using the correct paper size and type recommended for your Epson WorkForce model. Fan the stack of paper before loading it to prevent sheets from sticking together, and ensure it’s properly aligned in the tray. Clean the Paper RollersDust and debris on the paper feed rollers can cause feeding problems. Power off the printer, open the access panels, and gently clean the rollers using a lint-free cloth lightly dampened with water. Allow them to dry completely before turning the printer back on. Avoid Overloading the TrayOverfilling the paper tray can lead to misfeeds or multiple pages being pulled in at once. Keep the paper stack within the tray’s maximum fill line and always adjust the paper guides to fit snugly against the paper. Update Printer FirmwareOccasionally, paper feed problems can be caused by outdated firmware. Check the Epson support site for updates specific to your WorkForce model and install them as needed. Inspect for ObstructionsRemove any jammed paper or foreign objects from the input and output areas. Even small scraps can cause feeding errors. If your Epson WorkForce printer continues to struggle with paper feed issues despite these efforts, it may be time for a more thorough inspection. At Neon Electrix, our printer repair experts are ready to diagnose and fix even the most stubborn feed problems to keep your printing operations running smoothly.

Epson WorkForce Printer Paper Feed Problems: Solutions Read More »

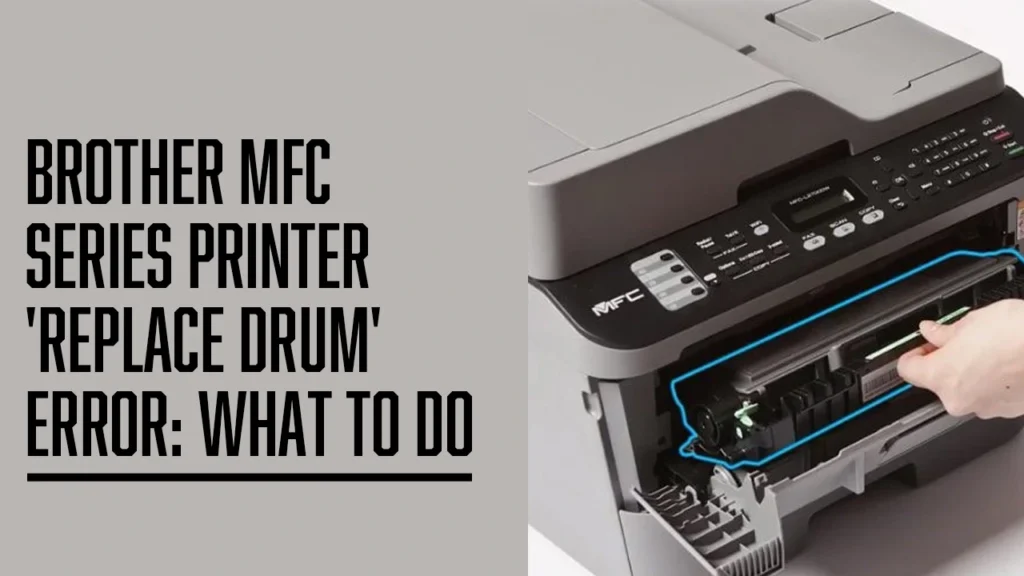
Brother MFC Series Printer ‘Replace Drum’ Error: What to Do

Brother MFC Series Printer ‘Replace Drum’ Error: What to Do If your Brother MFC Series printer is displaying a “Replace Drum” error, it means the drum unit has reached the end of its expected life cycle. The drum is a vital component that works with the toner to transfer images and text onto paper. While replacing the drum unit is typically required, sometimes the error can persist even after installation. Here’s what to do: Replace the Drum Unit (If Needed)Open the front cover, remove the toner and drum assembly, separate the toner from the old drum, and attach it to a new drum unit. Then, reinstall the assembly into the printer. Reset the Drum CounterAfter replacing the drum, you must manually reset the drum counter to clear the error message: Open the front cover. Press and hold the “OK” or “Clear” button (depending on the model) until a reset option appears. Select “Drum” and confirm the reset. Clean the Corona WireIf you’re not replacing the drum immediately, try cleaning the corona wire inside the drum unit. Slide the green tab from left to right several times to ensure a clean transfer path. If you’ve followed these steps and still see the error, the issue may be due to a faulty sensor or installation error. At Neon Electrix, our technicians are experienced in resolving these kinds of issues quickly and effectively. We can help you get your Brother MFC printer working like new again.

Brother MFC Series Printer ‘Replace Drum’ Error: What to Do Read More »

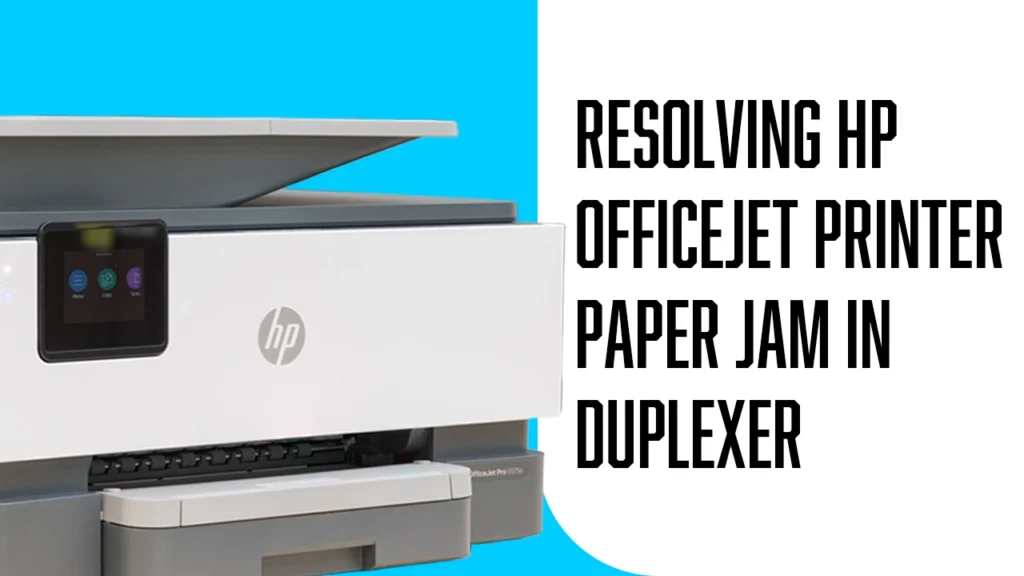
Resolving HP OfficeJet Printer Paper Jam in Duplexer

An HP OfficeJet duplexer paper jam is caused by paper or any foreign object stuck inside the paper path. When a paper is stuck, the fresh sheets can not go inside, and so the whole printing process stops. To fix this, we need to take out the duplexer and clear the jam. In this blog, we will guide you through the process of HP duplexer removal and clearing the printer paper jam inside it Step 1– Turn off the printer by pressing the power button. In some cases, the printer won’t turn off because of an auto-duplex paper path jam. Even if it doesn’t turn off, continue with the next steps.  Step 2– If there is a USB plug connected to the computer, then unplug it. Step 3– Take out the power plug from the printer to avoid any damage to the printer.  Step 4–  For HP duplexer removal, Push in both sides of the duplexer and then pull it straight out of the printer.  Step 5– Check for a paper jam inside the printer. Step 6– Gently remove it by pulling it out using both your hands to clear the HP rear access door jam. Step 7– Use a flashlight to search for more tiny pieces of paper or any foreign objects.  Now it is time to do the OfficeJet duplex jam clear. Step 8– Open the duplexer by pressing both sides of the duplexer together. HP two-sided printing jam happens because of this only. Remove the stuck paper inside the paper, and then put the duplexer inside the printer.  Paper jams are frustrating, especially when they occur in the duplexer, where fixing them can feel even more complicated. If you’ve already cleared a paper jam from your HP OfficeJet’s duplexer but your printer still isn’t working properly, there could be a deeper issue. Persistent jams are sometimes caused by misaligned components or worn-out rollers. At Neon Electrix, our team specializes in diagnosing and repairing common printer problems, including the HP 8025 duplexer fix. We’re here to help get your printer back up and running smoothly.

Resolving HP OfficeJet Printer Paper Jam in Duplexer Read More »

Canon TS Series Printer Printing Issues: Common Causes and Fixes

If your Canon TS series printer is giving you trouble—whether it’s producing faded prints, smudging ink, or not printing at all—you’re not alone. Canon TS printing issues are common and often stem from problems like clogged printheads, outdated drivers, or spooler service errors. The good news is that most of these issues can be resolved with simple troubleshooting steps. In this guide, we’ll walk you through the most frequent Canon printer problems, including print quality issues with models like the Canon TS8320, spooler malfunctions, and driver-related errors. Canon Print Quality Issue Canon TS8320 print quality issues happen mostly because the printhead is not aligned.  Aligning the print head is also a Canon TS print streaks fix. Here is how to align it.  Step 1– Open Devices and Printers settings from the control panel. Step 2– Find your printer from the list of devices, and then select the printer properties option.  Step 3– From the maintenance menu, click on the Print Head Alignment option as shown in the image below. Just follow the instructions, and the Canon print head alignment will be done. Canon Print Spooler Error Spooler error is one of the most common Canon TS printing issues. Follow the steps below to fix it. Step 1– Open the Services app on your computer.  Step 2– To fix the Canon printer spooler error, find the print spooler, right-click on it, and then select properties. Step 3– Select Startup type as Automatic and then click on the Start button to start the print spooler service. Canon TS Printer Drivers Issue The driver issue on Canon printers is fixed by downloading the correct Canon TS printer drivers for your computer. Follow the steps below to do it. Step 1– Navigate to the official website of Canon.  Step 2- Select your printer, and then select the operating system you are using.  Step 3– Download the driver and install it. Tried the steps but still dealing with Canon TS printing issues? Whether it’s a persistent print quality problem, a driver malfunction, or a recurring spooler error, getting expert help can save time and frustration. Our Canon TS8320 troubleshooting guide covers the basics, but if your printer still won’t cooperate, Neon Electrix is here to help. Contact us today for expert assistance.

Canon TS Series Printer Printing Issues: Common Causes and Fixes Read More »